
Wondering “how to clean a bathroom” without wasting hours? You can learn a simple routine that keeps germs and soap scum from building up, while saving time each week. This guide gives a clear, step-by-step approach you can follow in any home.
Start by clearing surfaces and removing towels, bottles, and clutter so you have the space to reach every area. Play upbeat music like Vanesa Amaro suggests; it makes the task feel less like a chore and keeps you moving.
Begin dusting from the top down to catch loose dirt before applying liquids. Focus on high-touch spots such as the toilet seat, sink rim, shower handles, and the floor edges.
This short routine prevents long-term grime on walls and surfaces and protects fixtures from wear. Keep basic products on hand and follow the steps in order for fast, reliable results.
Table of Contents
Essential Supplies for a Spotless Bathroom
Start with a shortlist of tools and simple cleaners for fast, effective results.
Natural Cleaning Solutions
White vinegar and baking soda are powerful and budget-friendly. Anita Birges notes these items cut soap scum and rust without pricey products.
Mix vinegar and water for a general spray. Use baking soda as a gentle abrasive on grout and tubs.
Essential Tools
Gather these basics for efficient bathroom cleaning:
- Scrub brush for grout and tough spots.
- Squeegee for glass and shower doors.
- Microfiber cloths for streak-free surfaces.
- Reliable glass cleaner and a disinfectant solution for high-touch areas.
One versatile product saves time: Maria Striemer recommends the Mr. Clean Magic Eraser Ultra Bath for use on sinks, tiles, and cabinet doors. Choose cleaners that work on multiple surfaces so weekly upkeep takes less effort.
| Item | Best Use | Notes |
|---|---|---|
| Mr. Clean Magic Eraser | Tiles, sinks, cabinet doors | Multi-surface, reduces need for many products |
| Vinegar + Water | Spray cleaner for glass and counters | Eco-friendly, cuts mineral buildup |
| Baking Soda | Scouring paste for tubs and grout | Non-toxic, removes stains and odors |
Preparing Your Space for Deep Cleaning
Make space and sort items first; a prepared room makes deep work faster and safer.
Clear counters and remove personal items like shampoo bottles, towels, and trash so you can access every surface. Place dirty laundry outside the room before you start.
Dust from the top down. Begin with light fixtures and high shelves, then move to baseboards. Removing loose dust first prevents streaks when you use wet cleaning products.
Gather your cleaning products and tools before scrubbing. Keep sprays, brushes, and microfiber cloths within reach so you do not leave the room mid-task.
- Clear space and sort items.
- Dust top areas first.
- Collect products and tools in one place.
| Step | Why it Matters | Quick Tip |
|---|---|---|
| Declutter | Allows full access to surfaces and toilet. | Use a laundry basket for towels. |
| Dust Top Down | Prevents wet cleaning from smearing dust. | Start with light fixtures then shelves. |
| Stage Supplies | Saves time and keeps focus on deep cleaning. | Line up products by task. |
How to Clean a Bathroom from Top to Bottom
Begin at the highest fixtures and move downward; this order saves time and captures loose debris. This method helps you avoid redoing surfaces and keeps the job efficient for weekly upkeep.
Plan for 20–45 minutes depending on buildup and size. Set a timer and focus on the most soiled spots first.
Follow these practical steps:
- Dust lights, vents, and shelves so particles fall to lower areas.
- Spray shower and sink with a quality cleaner and let sit while you move on.
- Scrub the toilet bowl, then wipe the exterior and surrounding floor.
- Return to shower and sink; rinse and squeegee glass and tiles.
- Finish with baseboards and the floor last.
Quick tips: working top down saves time and reduces streaks. Target the sink, shower, and bowl during your main scrubbing window.
| Area | Focus | Why |
|---|---|---|
| Ceiling & fixtures | Dust first | Prevents resoiling |
| Shower & sink | Apply cleaner early | Loosens grime |
| Toilet & floor | Scrub last | Catches falling debris |
Stick to these simple steps and your bathroom cleaning will feel faster and more thorough. These tips help keep your home fresh with minimal effort.
Refreshing Your Shower and Bathtub
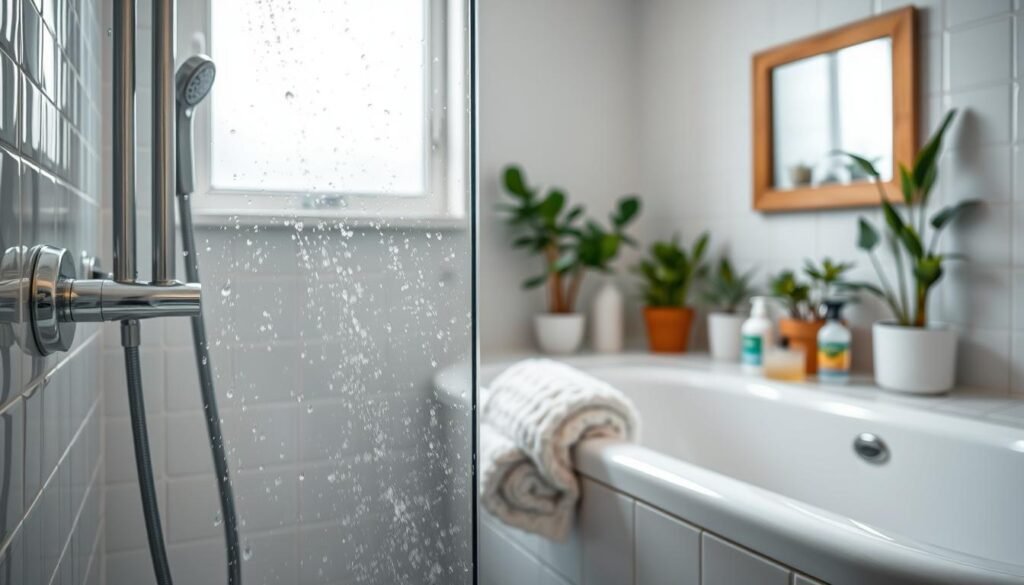
Refresh the tub and shower area with a few focused steps that cut soap scum and restore water flow. Quick tasks done regularly save you time and keep surfaces bright.
Cleaning Shower Curtains
Make sure you wash the curtain and liner every three months. Add old towels in the machine to scrub away grime while washing.
Descaling Showerheads
If mineral buildup slows water flow, soak the head in vinegar for an hour. This removes limescale and improves spray without harsh products.
Scrubbing the Tub
Spray your chosen cleaner and let it sit for the recommended time. Then scrub walls and floor from the top down with a brush.
- Make sure to tackle grout; it traps dirt and soap scum.
- Use a paste of vinegar and baking soda on glass or doors, leave one hour, then rinse for a streak-free finish.
- Rinse all surfaces well and dry glass with a squeegee for longer-lasting results.
| Task | Best Product | Quick Tip |
|---|---|---|
| Wash curtain | Mild detergent + old towels | Every 3 months to prevent mold |
| Descale head | White vinegar | Soak 60 minutes, then run water |
| Remove soap scum | Vinegar + baking soda paste | Apply, wait 1 hour, rinse |
| Scrub tub & grout | All-purpose cleaner + brush | Work top down, rinse well |
Techniques for Sparkling Glass and Mirrors
Sparkling mirrors and streak-free glass give any bathroom an instant lift. Start by wiping the mirror with a dry microfiber cloth to remove dust and loose spots.
Lightly mist the surface with a glass cleaner or a 50:50 vinegar and water solution. Then buff with a clean microfiber cloth in one consistent direction for a clear reflection.
Avoid paper towels; they leave lint and streaks. For shower doors, use a squeegee after each use and a glass cleaner weekly to stop water spots from forming.
- Use quality glass cleaner and a soft microfiber cloth for best results.
- Wipe in straight strokes and finish with a circular buff where needed.
- Apply the vinegar solution for natural shine when you prefer a green option.
| Task | Best Product | Quick Tip |
|---|---|---|
| Mirror touch-up | Glass cleaner + microfiber | Wipe top to bottom, then buff sideways |
| Shower doors | Squeegee + glass cleaner | Squeegee after each shower to prevent buildup |
| Natural option | Vinegar + water solution | Spray lightly and buff while damp |
Deep Cleaning the Toilet Bowl and Exterior
Nothing freshens a room faster than a spotless toilet; tackling the bowl and exterior makes a big visual difference. Spend about 10–20 minutes and focus on removing stains and germs from high-touch areas.
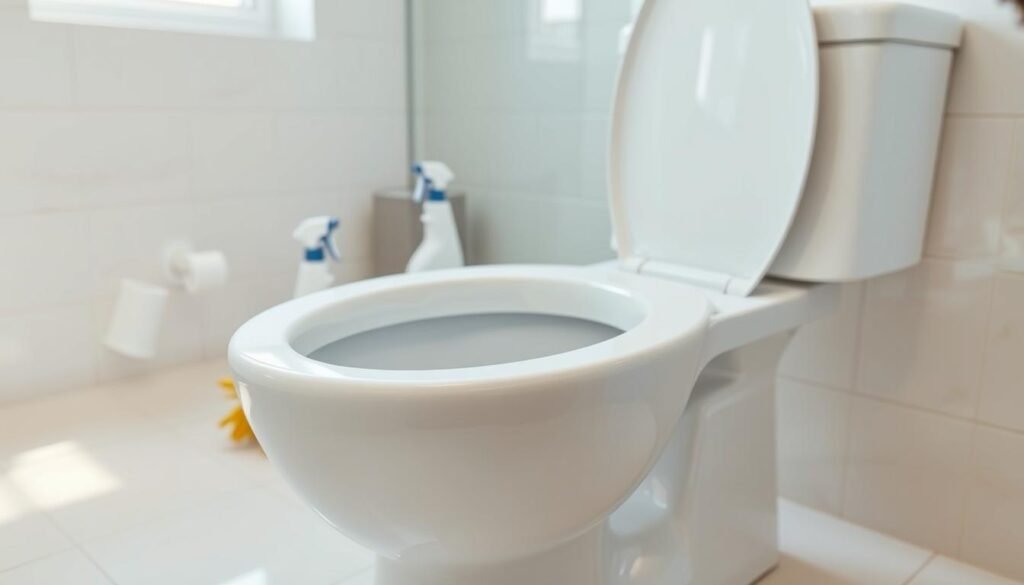
For the bowl, pour a quality toilet bowl cleaner inside and let it sit for 10 minutes. Scrub thoroughly with a stiff brush, paying attention under the rim and at the water line.
Sanitizing the Toilet Brush
After every use, sanitize the brush. Spray disinfectant over the bristles or pour a small amount of bleach, then rinse and let the brush air-dry upright.
- Wipe the seat, lid, and flush lever with a separate cloth to avoid cross-contamination with the sink or counters.
- If the tank shows mineral buildup, pour 4 cups of vinegar into it and let sit up to an hour before scrubbing the walls.
- Use baking soda as an eco-friendly paste on stubborn bowl stains, then scrub and flush for a natural finish.
| Task | Product | Time |
|---|---|---|
| Deep bowl scrub | Toilet bowl cleaner + brush | 10 minutes sit, scrub |
| Brush sanitizing | Disinfectant or dilute bleach | After each use, air-dry |
| Tank descaling | White vinegar | Soak up to 60 minutes |
Managing Sink Faucets and Countertops
Your sink sees more germs than most bathroom fixtures, so a short routine keeps it hygienic and bright. Focus on the faucet, handles, and the surrounding countertop each week. Use a disinfectant cleaner on these high-traffic spots to remove hidden bacteria.
For tight crevices and toothpaste gunk, scrub with an old toothbrush or a cotton swab. Small tools reach buildup around the base of the faucet where grime hides.
If you spot soap scum, make a paste of baking soda and water. Apply gently, scrub, then rinse. Finish by drying with a clean microfiber cloth for a streak-free shine.
- Disinfect faucet handles and countertop after heavy use.
- Use a toothbrush for crevices and around hardware.
- Apply baking soda paste for stubborn scum, then wipe dry with microfiber.
| Task | Best Product | Quick Tip |
|---|---|---|
| Disinfect handles | All-purpose cleaner | Spray and wipe weekly to cut bacteria |
| Remove toothpaste gunk | Old toothbrush | Work around base and under spout |
| Lift soap scum | Baking soda paste | Let sit a few minutes, then scrub and rinse |
Regular attention saves you time and keeps odors away. A clean sink area also supports overall bathroom hygiene and complements work you do on the toilet bowl and other surfaces.
Removing Grime from Tile and Grout
A short weekly routine for grout prevents deep stains and speeds up later cleaning. Give the tile walls a quick once-a-week scrub so grime does not set into grout lines. This saves time and keeps your shower fresh.
For heavy discoloration, mix 3/4 cup bleach with 1 gallon of water. Apply the solution carefully, scrub with a stiff brush, then rinse well. Make sure the room is well ventilated while you use this product.
For a natural option, make a paste of baking soda and water. Work the paste into grout, scrub with a firm brush, then rinse. This lifts stains without harsh fumes.
If soap scum clings to tile, use a specialized cleaner and let it sit a few minutes before scrubbing. Regular attention prevents long-term discoloration and keeps your bathroom looking newer.
- Weekly bleach dilution for stubborn grout.
- Baking soda paste for gentle stain removal.
- Specialized cleaner for soap scum on shower tile.
| Task | Recommended Solution | Tool |
|---|---|---|
| Deep grout brightening | 3/4 cup bleach per 1 gallon water | Stiff brush, ventilation |
| Natural stain lift | Baking soda + water paste | Small scrub brush, rinse well |
| Soap scum removal | Commercial tile cleaner | Let sit, then scrub and rinse |
Maintaining Bathroom Fans and Ventilation
A dusty fan can undo your best efforts by trapping moisture and moving grime around.
Start by switching off power at the wall or breaker. Use a vacuum with a brush attachment to lift dust from vents and grille. This step removes loose dirt quickly and improves airflow.
If the cover is removable, soak it in warm, soapy water for a deeper clean. Wipe the housing with a damp sponge, but avoid getting any electrical parts wet.
- Vacuum vents monthly to prevent dust buildup.
- Soak removable covers in warm water for thorough washing.
- Test the fan after cleaning to ensure it moves moist air from the shower and toilet area.
Proper ventilation reduces mold risk and cuts the time you spend on other cleaning tasks. A clear, working fan helps keep walls and fixtures drier and extends the life of paint and grout.
| Task | Tool | Why it matters |
|---|---|---|
| Vacuum vents | Vacuum w/ brush attachment | Removes dust for better airflow |
| Soak cover | Warm, soapy water | Deep cleans grease and grime |
| Wipe housing | Damp sponge | Clears remaining dirt without harming wiring |
| Monthly check | Visual & auditory test | Ensures fan moves moist air and prevents mold |
Final Touches for a Fresh Floor
Leave the floor for last so fresh dirt from the toilet or shower does not ruin your work. Sweep or vacuum thoroughly first to remove dust and hair that would turn into mud when wet.
Spot-treat lingering marks with a bleach-and-water solution, and focus the disinfectant cleaner around the base of the toilet bowl where grime hides. Let the solution sit a few minutes, then mop.
Rinse the entire floor with clean water to remove soap residue. Dry the surface with a towel or microfiber cloth right away to prevent slips and water spots.
- Order: sweep, spot-treat, mop, rinse, dry.
- Pay special attention to areas near fixtures and under mats.
- Replace fresh bathmats and towels for a tidy, finished look.
| Task | Product | Quick Tip |
|---|---|---|
| Sweep / Vacuum | Floor broom or vacuum | Remove dust before wet work |
| Spot treatment | Bleach + water solution | Let sit a few minutes, then mop |
| Final dry | Towel or microfiber | Dry promptly to prevent slips |
Conclusion
Small, regular steps keep bathroom cleaning manageable and fast. Follow the clear steps in this guide and you will save time while keeping all surfaces, the toilet, and towels fresh.
Use the right cleaning products and basic products wisely. A weekly routine and a few expert tips remove grime before it sets, reducing the need for long deep sessions.
Stick with a short checklist, keep your space organized, and your home will feel cleaner every day. These simple habits protect fixtures and make maintenance quick and stress-free.